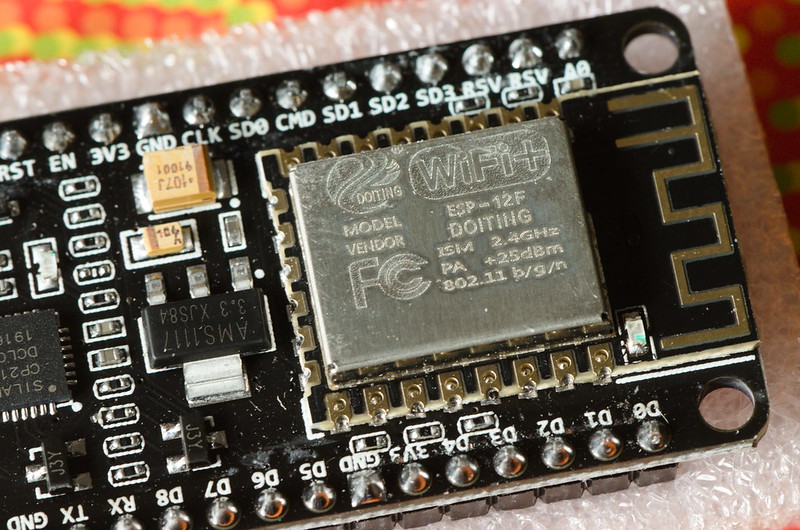
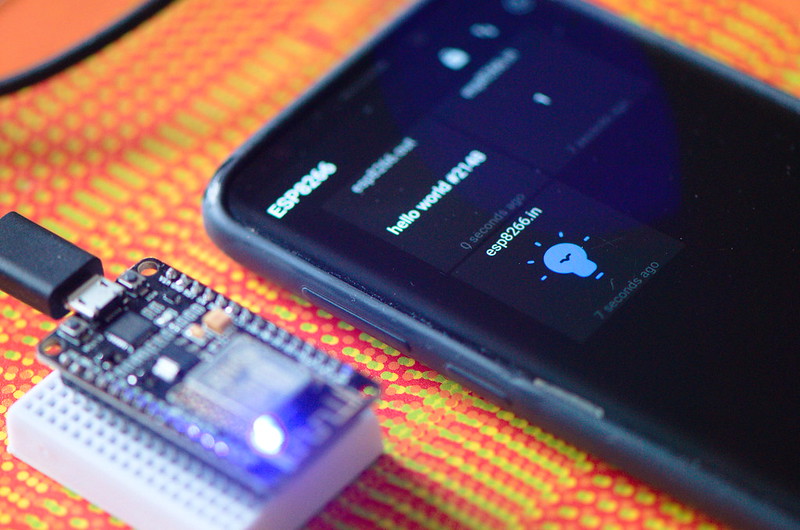
Espressif Systems Shanghai launched the game changing low cost ESP-8266 microcontroller in 2014 – a key enabler for embedded Internet of Things (IOT) development.


Adding WiFi 802.11 and Bluetooth LE wireless connectivity to system on a chip (SoC) product costing roughly price of a cup of coffee meant innovators and micro electronics DIY enthusiasts could easily interface edge smart sensor or legacy hardware systems with cloud or mobile devices.
The successor chip ESP-32 (launched 2016) introduced Xtensa LX6 processor and FreeRTOS (a real time operating system (OS) for embedded) – enabling multi-threaded applications running on multi core CPU architecture.
To add context, many even relatively complex tasks especially automation, can be run on tiny embedded 8 bit processor such as Arduino. More complex applications, video, audio signal processing, image recognition or AI require much more compute power.
ESP-32 in the eco-system sits between Arduino and more powerful systems Raspberry Pi, Windows or Embedded Linux.
Sounds great, but how does it work in practice?


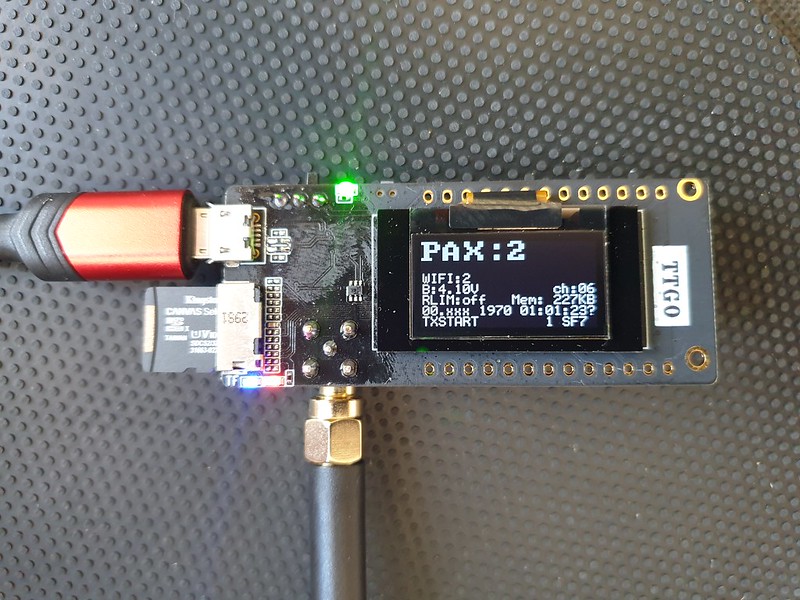
In this sketch ( https://github.com/steveio/arduino/tree/master/ESP32GPSMultiTask ) we assemble a UBLOX GPS data logger with an SD card internal storage, LoRaWAN wireless relay and an OLED display.
The goal is to demonstrate running 4 separate non-blocking tasks concurrently using FreeRTOS to schedule tasks, suspend, interrupt, queue and share data in thread-safe way with mutex semaphore locks.
Let’s take a look at the code…. concentrating on FreeRTOS multi-core multi-thread potential, rather than peripherals / sensors.
Data Structures, Multi-thread Semantics & Setup()
First, a struct to encapsulate core data model message (GPS data):
// GPS position data
struct XPosit
{
  float Lat;
  float Lon;
  float Alt;
  float Course;
  float Speed;
} xPosit;
Next two semaphores to serialise reading and writing tasks to ensure data consistency:
// Semaphores to lock / serialise data structure IO
SemaphoreHandle_t sema_GPS_Gate;
SemaphoreHandle_t sema_Posit;
Then a pointer queue for passing messages between threads / tasks:
// GPS position data queue
QueueHandle_t xQ_Posit;
Here is the related setup():
sema_GPS_Gate = xSemaphoreCreateMutex();
sema_Posit = xSemaphoreCreateMutex();

xSemaphoreGive( sema_GPS_Gate );
xSemaphoreGive( sema_Posit );
Now let’s define 4 tasks:
// task handles
static TaskHandle_t xGPSTask;
static TaskHandle_t xLoRATask;
static TaskHandle_t xSDWriteTask;
static TaskHandle_t xOLEDTask;

// hexadecimal notification code
define GPS_READ_BIT 0x01
define LORA_TX_BIT 0x02
define LORA_RX_BIT 0x04
define SD_WRITE_BIT 0x06
define OLED_BIT 0x08
ISR / Interrupt for Asynchronous Non-Blocking Event Loop
The system will be driven by a periodic ISR timer raising an interrupt calling a handler routine running & managing tasks.
Keeping loop() empty results in non-blocking program execution, no waiting on calls to delay() in main routine – and we only need to call ISR once every ten seconds to read GPS (rather than polling loop()) – which is better for low power consumption.
Under the hood FreeRTOS works in the same way:
> FreeRTOS implements multiple threads by having the host program call a thread tick method at regular short intervals. The thread tick method switches tasks depending on priority and a round-robin scheduling scheme.
( https://en.wikipedia.org/wiki/FreeRTOS#References )
With a task based modular event driven architecture, failure of one task – if write to SD card task blocks or fails because there is no storage card present), other tasks – reading GPS messages, LoRaWAN radio transmit continue.
// ISR timer
hw_timer_t * timer = NULL;
portMUX_TYPE timerMux = portMUX_INITIALIZER_UNLOCKED;
unsigned long isrCounter = 0;
ISR Handler Function (Main control routine, replaces loop()):
// ISR Interupt Handler
void IRAM_ATTR fLoRASendISR( void )
{
   portENTER_CRITICAL_ISR(&timerMux);
// Main program routine here ..
portEXIT_CRITICAL_ISR(&timerMux);
}
In setup() we schedule ISR timer:
// Configure Prescaler to 80, as our timer runs @ 80Mhz
// Giving an output of 80,000,000 / 80 = 1,000,000 ticks / second
timer = timerBegin(0, 80, true);
timerAttachInterrupt(timer, &fLoRASendISR, true);

// Fire Interrupt every 10s (10 * 1 million ticks)
timerAlarmWrite(timer, 10000000, true);
timerAlarmEnable(timer);
FreeRTOS Task (Thread) Setup
Next in setup() we describe & initialise tasks, specify which CPU core they should run on, their priority and a few other details
// create a pointer queue to pass position data
xQ_Posit = xQueueCreate( 15, sizeof( &xPosit ) );
Serial.print("Start Task fGPS_Parse() priority 0 on core 0");
xTaskCreatePinnedToCore( fGPS_Parse, "fGPS_Parse", 1000, NULL, 0, &xGPSTask, taskCore0 );
configASSERT( xGPSTask );
Serial.println("Start Task fSD_Write() priority 4 on core 1");
xTaskCreatePinnedToCore( fSD_Write, "fSD_Write", 1000, NULL, 4, &xSDWriteTask, taskCore1 ); // assigned to core 1
configASSERT( xSDWriteTask );
Serial.println("Start Task fLoRA_Send() priority 3 on core 1");
xTaskCreatePinnedToCore( fLoRA_Send, "fLoRA_Send", 1000, NULL, 3, &xLoRATask, taskCore1 ); // assigned to core 1
configASSERT( xLoRATask );
Here’s how to have a task start and wait suspended pending a notification. LoRaWAN transmit task starts and waits until read GPS notifies of new message to send; no need to constantly run radio draining battery or poll the message queue.
for( ;; )
{
/* block until task notification */
xResult = xTaskNotifyWait( LORA_TX_BIT,
                     ULONG_MAX,        /* Clear all bits on exit. */
                     &ulNotifiedValue, /* Stores the notified value. */
                     portMAX_DELAY );  /* Block indefinately */

if( xResult == pdPASS )
{
Executing FreeRTOS threads : ISR Main Routine
In main ISR program loop, here’s how to notify tasks:
BaseType_t xHigherPriorityTaskWoken = pdFALSE;

/* Notify (trigger) Read GPS
xTaskNotifyFromISR( xGPSTask,
                   GPS_READ_BIT,
                   eSetBits,
                   &xHigherPriorityTaskWoken );

/* Notify LoRA send task to transmit by setting the TX_BIT */
xTaskNotifyFromISR( xLoRATask,
                   LORA_WRITE_BIT,
                   eSetBits,
                   &xHigherPriorityTaskWoken );
Inter process Communication (IPC): Semaphore Mutex Locks
Concurrency & data consistency in real time and multi threaded systems requires care to ensure serial ops – a write by one thread to a data struct for example must not corrupted by another concurrent thread.
The classic answer to this is locks – mutex, semaphores. A thread requests obtains & takes a lock and other tasks block (wait, retry). The lock is revoked only when lock holding task completes or rolls back.
Here is how it’s done in FreeRTOS:
   if ( xSemaphoreTake( sema_GPS_Gate, xTicksToWait0 ) == pdTRUE )
{
 if ( xSemaphoreTake( sema_Posit, xTicksToWait1000 ) == pdTRUE )
    {
      xPosit.Lat = gps.location.lat();
      xPosit.Lon = gps.location.lng();
      xPosit.Alt = gps.altitude.meters();
      xPosit.Course = gps.course.deg();
      xPosit.Speed = gps.speed.kmph();

      xSemaphoreGive( sema_Posit );
    }


    if ( xSemaphoreTake( sema_Posit, xTicksToWait1000 ) == pdTRUE )
    {
      Serial.println("xQueueSend()");
      pxPosit = &xPosit;
      xQueueSend( xQ_Posit, ( void * ) &pxPosit, ( TickType_t ) 0 );
      xSemaphoreGive( sema_Posit );
    }

    xSemaphoreGive( sema_GPS_Gate );
  }
FreeRTOS : Message Queue
Those interested in using Queue’s (a sized FIFO pointer linked buffer) to pass data between tasks should consult the API reference:
https://www.freertos.org/a00018.html
// Examples:
// Writing
if ( xSemaphoreTake( sema_Posit, xTicksToWait1000 ) == pdTRUE )
        {
          pxPosit = &xPosit;
          xQueueSend( xQ_Posit, ( void * ) &pxPosit, ( TickType_t ) 0 );
          xSemaphoreGive( sema_Posit );
        }

// Reading..
struct XPosit xPosit, *pxPosit;

 if( xQueueReceive( xQ_Posit,
                         &( pxPosit ),
                         ( TickType_t ) 10 ) == pdPASS )
      {
Conclusion
Espressif changed the game in 2014 with ESP8266 – bringing WiFi & Bluetooth to Arduino’s eco-system of low cost interoperable sensors & components – the internet of things (IOT) long promised since at least 1980s as “smart home” concept finally came of age.
Modern mobile devices and laptops are now so incredibly complex as to be virtually indecipherable, especially at hardware / OS level – to most people, even those within IT industry.
Arduino made it possible for students, DIY enthusiasts, makers & researchers to work with Microcontrollers in a way that is relatively simple, comprehensible and fun. No longer do you necessarily need a PhD, work for tech giant or own a CPU manufacturer to build a micro-electronics project.
By adding WiFi, Bluetooth & LoRaWAN wireless, Espressif opened door to new information age of cloud connected smart sensor & control devices. IOT smart home devices & solutions from Amazon AWS and Google (Matter) are already available in marketplace.
But the option endures – those who wish to can make their own or projects or use a component approach to Internet connect existing machines.
It remains to be seen in decades to come whether people use this tech for good, to benefit people, to make things better; or for nefarious activities – stalking, tracking, surveillance; or worse AI enabled weapons…
(my plan for this prototype was to add 6 axis accelerometer, attach prototype to a stunt kite, aquire some flight input data, create some cool real time web visualisations and explore some more Python SciPi, Mathplotlib & Pandas libraries (alas the prototype proved too fragile to get off the ground).
Anyway hope this tutorial helps you, it took me 30 years to even vaguely understand micro electronics hardware, multi-threading, c++…
